Follow Me On Social Media!
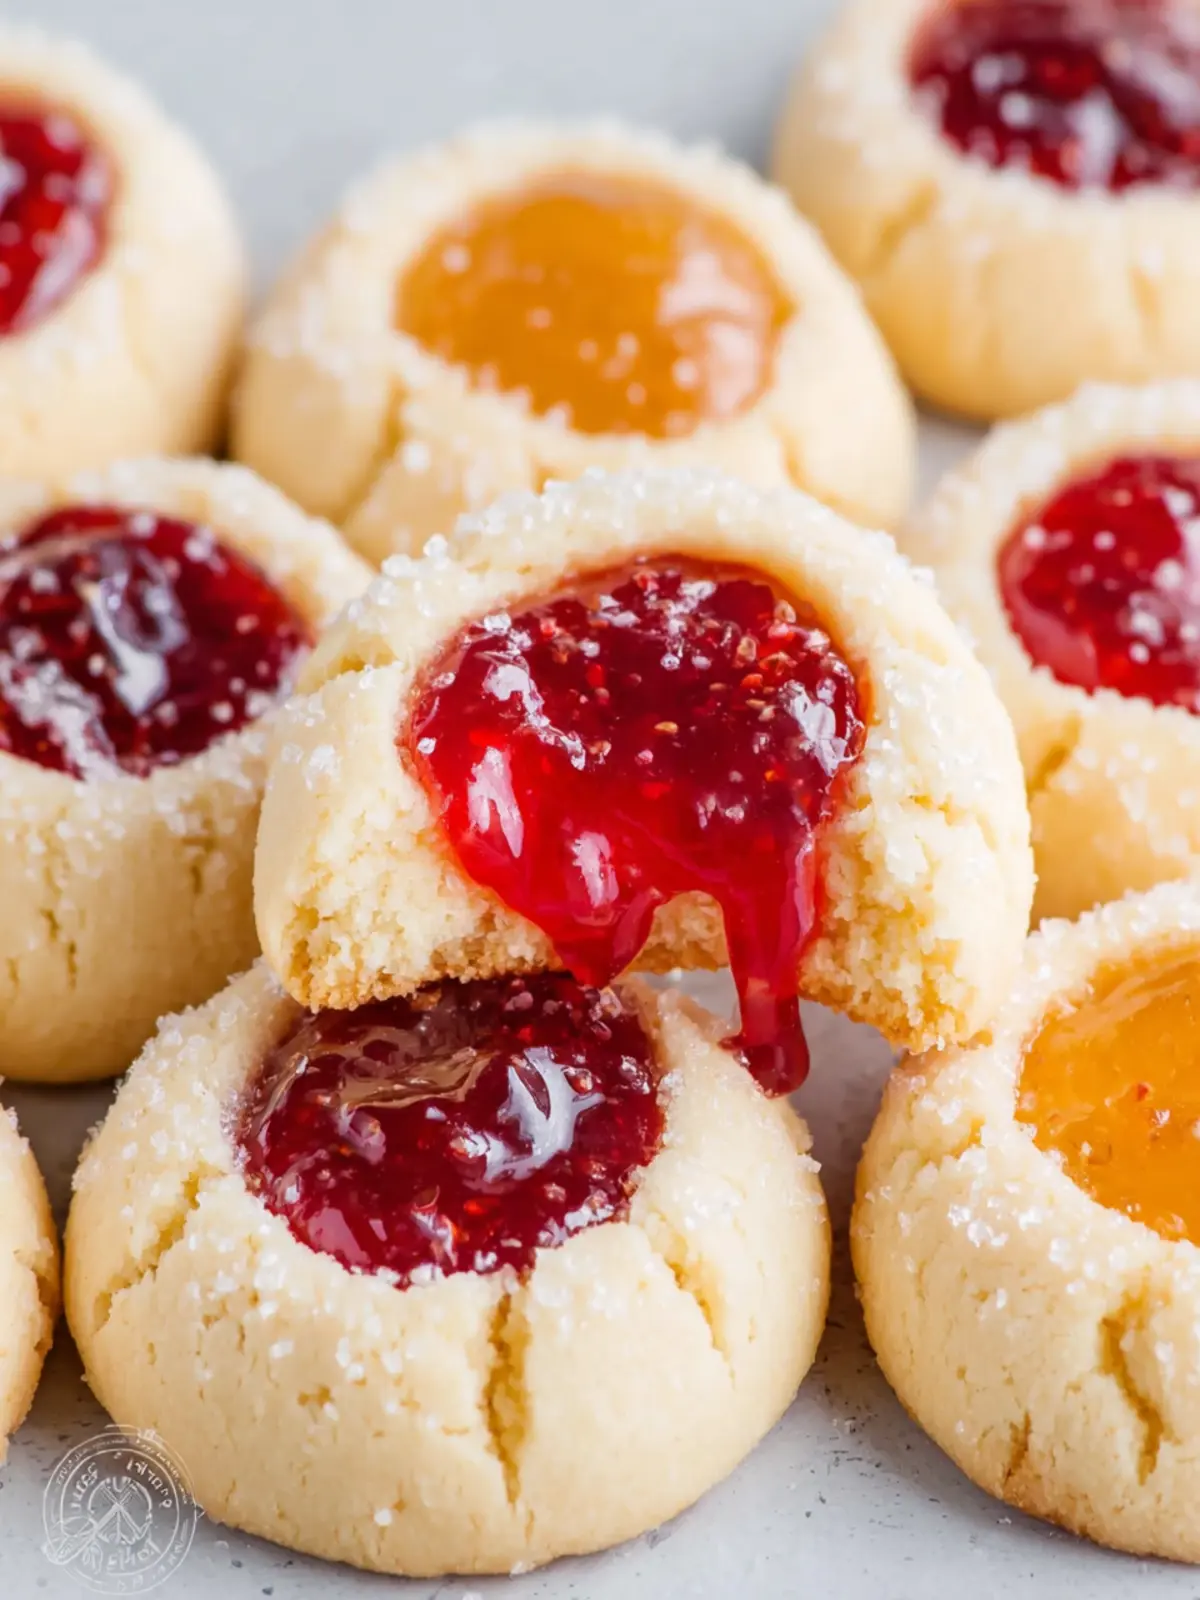
Jam Thumbprint Cookies: The Best Indulgent Treats at Home
Introduction to Jam Thumbprint Cookies
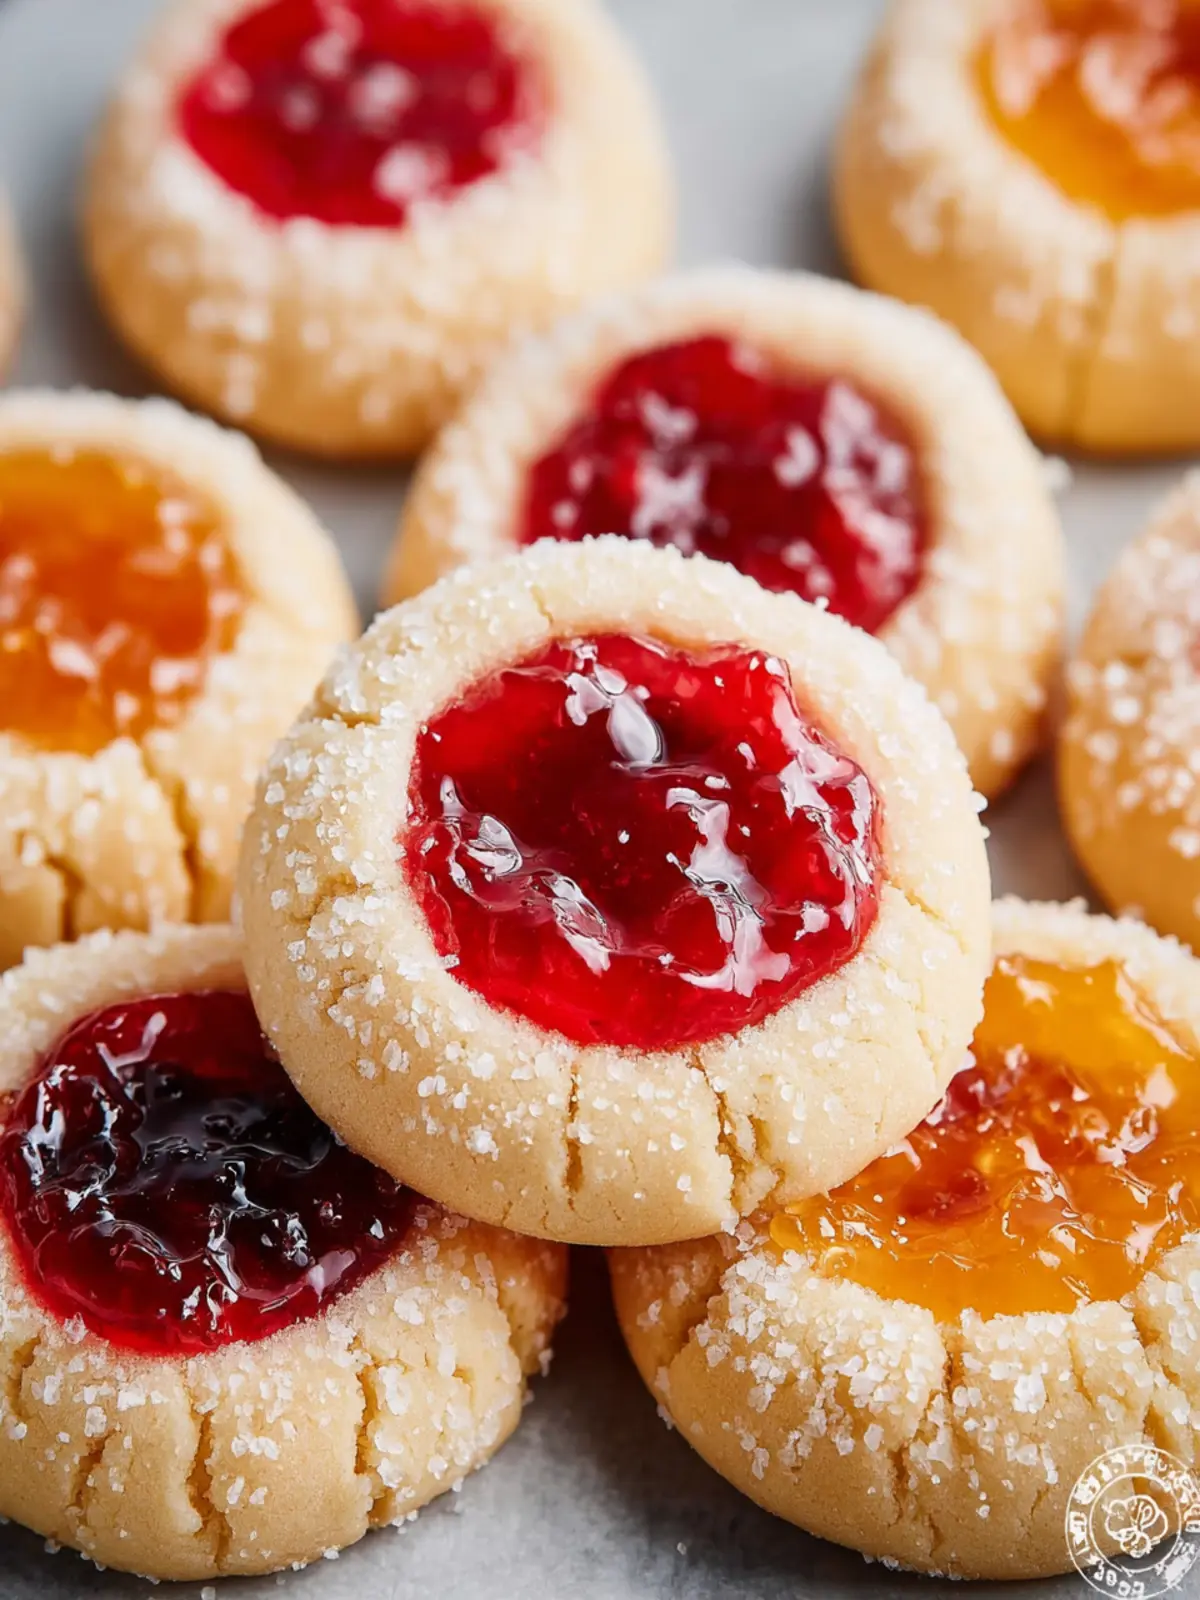
Jam thumbprint cookies are not just a delightful treat; they encapsulate the essence of warm kitchens filled with laughter and love. Imagine a cozy afternoon spent baking, with the sweet aroma of butter and sugar wafting through the air, mingling with childhood memories of baking alongside family. Each tiny cookie, with its perfectly pressed thumbprint, captures a bit of nostalgia that brings a smile to our faces.
In many ways, jam thumbprint cookies tell a story. They remind us of simpler times—of weekends spent in the kitchen, experimenting with flavors and sharing results with friends and family. As you mix the ingredients and roll the dough, you can’t help but feel a connection to those cherished times. The beauty of these cookies lies not just in their taste, but in the experience of making them. There’s something wonderfully meditative about rolling dough into little balls, creating those cute dents, and filling them with flavorful jam.
This delightful recipe provides the perfect base for creativity. You can choose from a range of jams to fill those dimpled cookies—strawberry, raspberry, apricot, or even something more unique like lavender or fig. Think about exploring flavors you love or finding a jam that brings back fond memories. Perhaps it’s the homemade raspberry jam from a summer berry-picking adventure.
The beauty of jam thumbprint cookies is their versatility. Whether you’re baking for a holiday gathering, a casual get-together, or simply to satisfy your sweet tooth, these cookies fit the bill perfectly. With just a few staple ingredients, you’ll create something special that resonates with your spirit and palate. Each bite is a reminder of the warmth and love that come from spending time in the kitchen, a place where memories are made and shared.
So, let’s roll up our sleeves, channel that nostalgic energy, and get ready to create some delicious jam thumbprint cookies that will make your kitchen feel like home.
Key Ingredients for Jam Thumbprint Cookies
Creating jam thumbprint cookies is a delightful journey, where simplicity meets bursts of sweet flavor. These cookies can transport you back to childhood memories of baking with loved ones. Here’s what you’ll need:
-
Butter: I often say butter is the heart of any cookie. For these thumbprint cookies, it’s vital to use unsalted butter, as its creamy texture adds richness while allowing the sweet and tangy jam to shine.
-
Sugar: A combination of granulated sugar and powdered sugar works wonders. The granulated sugar, mixed into the dough, provides sweetness, while the powdered sugar lends a lovely melt-in-your-mouth texture.
-
Flour: All-purpose flour is your go-to here. It creates that perfect structure throughout the cookie, ensuring they are not too crumbly but still tender.
-
Egg: Just one egg is essential in this recipe for binding the ingredients, giving your cookies that perfect chewy softness.
-
Jam: Choose your favorite jam for filling, whether it’s raspberry, apricot, or even something tropical like mango. The jam not only adds flavor but also provides the charming little “thumbprint” you’ll love to fill.
Embracing these ingredients in your jam thumbprint cookies will surely lead to a delightful baking experience and delicious outcomes. Enjoy!
Why You’ll Love This Recipe
Unique flavor combinations and family appeal
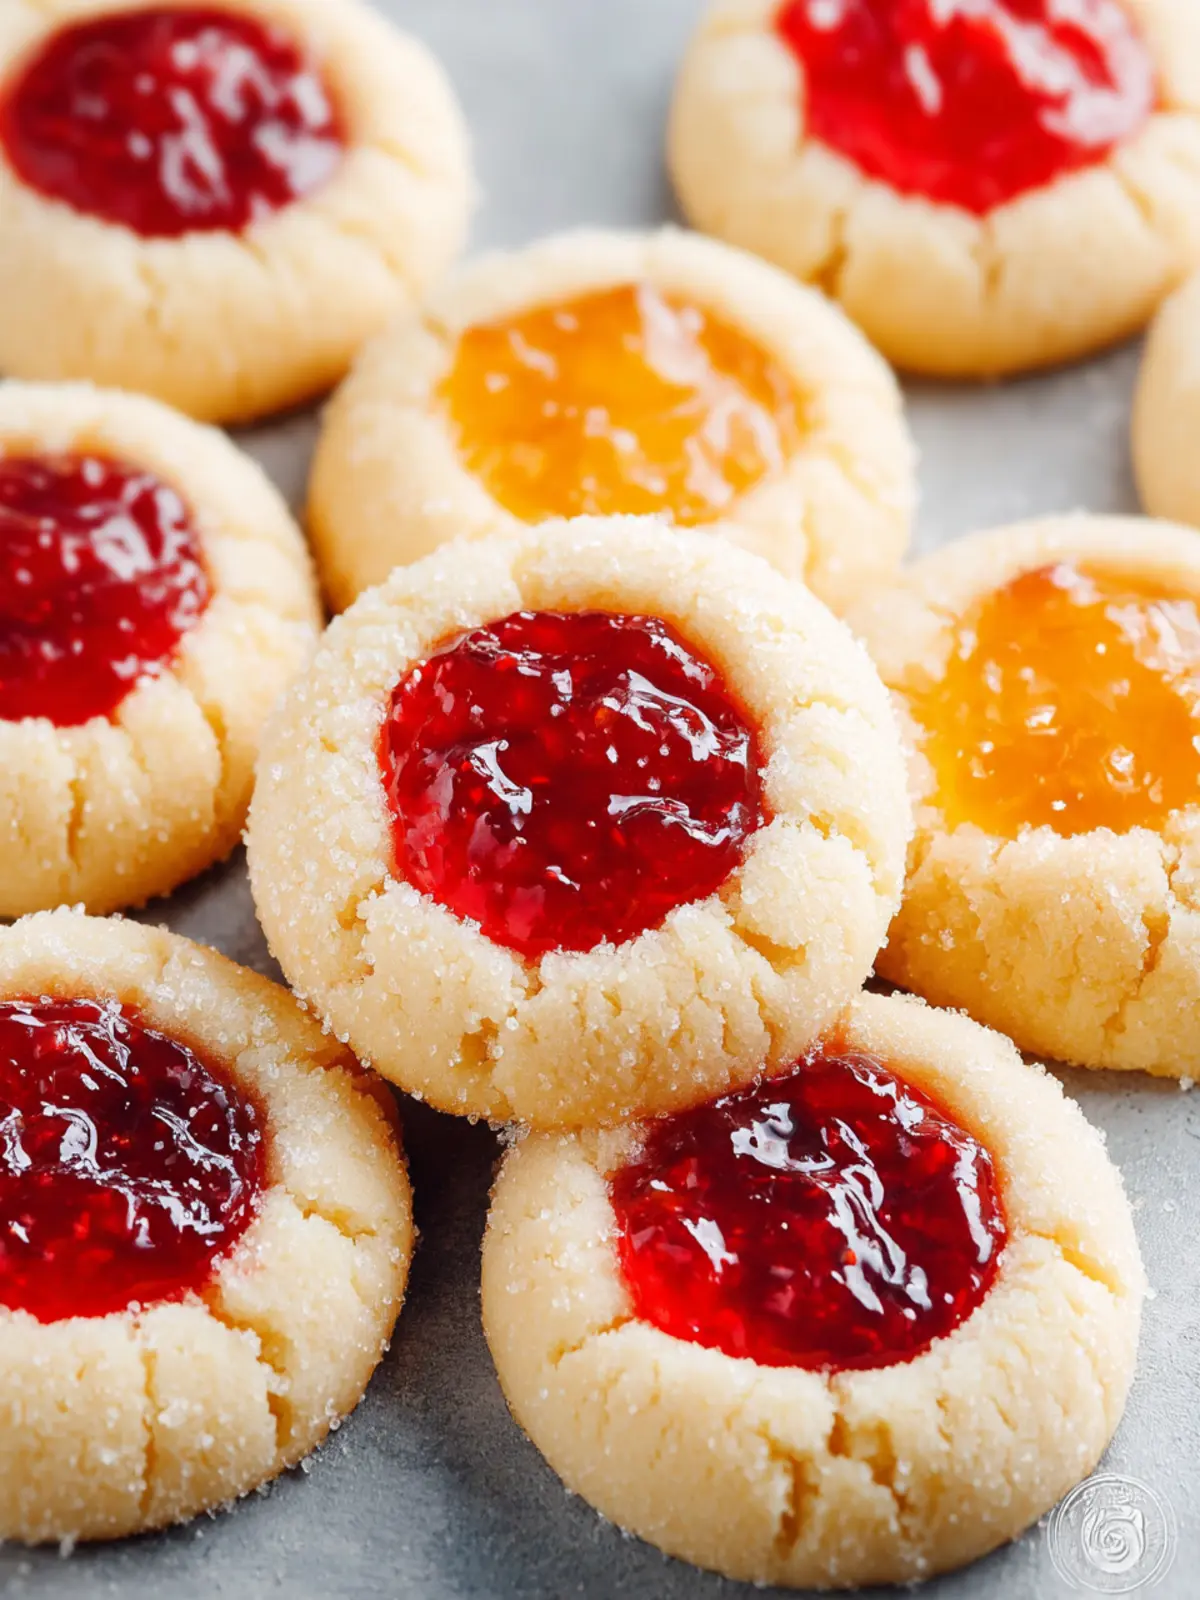
Jam thumbprint cookies are a delightful twist on traditional cookie recipes, offering a unique flavor experience that’s sure to impress. Imagine biting into a buttery cookie perfectly contrasted by a burst of sweet, fruity jam. With endless possibilities for jam varieties—think raspberry, apricot, or even a zesty lemon curd—each bite becomes a new adventure.
These cookies are not just delicious; they also have a charming homemade appeal that makes them a hit with family and friends. Picture a cozy afternoon, the kitchen filled with warm aromas from the oven, and laughter as you engage loved ones in the cookie-decorating process. Whether you’re baking with kids or hosting a gathering, jam thumbprint cookies invite everyone to join in the fun.
Furthermore, they’re perfect for any occasion! From holiday cookie exchanges to simple treats for an after-school snack, their versatility makes them a cookie jar staple. Plus, they’re delightful alongside your favorite cup of tea or coffee, making any moment feel special. So go ahead, gather your ingredients, and create memories that will linger long after the cookies are gone!
Variations
Experimenting with Different Jams and Toppings
The beauty of jam thumbprint cookies lies in their versatility, inviting countless variations that can suit any palate. While classic raspberry or strawberry jams are delightful, don’t hesitate to explore other flavors. Imagine the zing of apricot jam or the rich sweetness of blueberry—these can add a unique twist to your batch.
- Nut Butters: For an extra layer of flavor, consider adding a dollop of peanut or almond butter alongside the jam. This contrast creates a delightful creamy texture.
- Spices: Adding a pinch of cinnamon or even nutmeg to the dough can elevate the flavor profile, providing warmth that balances the sweetness of the jam.
- Chocolate Variations: If you’re a chocolate lover, consider drizzling melted chocolate over the cooled cookies. Alternatively, use chocolate hazelnut spread as a filling.
Each variation on these traditional jam thumbprint cookies invites you to experiment and create a delicious array of options for gatherings or personal enjoyment. Your cookie jar will never be the same!
Cooking Tips and Notes
Baking Secrets for Perfect Cookies
Crafting the ideal jam thumbprint cookies is an art, and a few techniques can elevate your baking game. The flavor and texture rely heavily on how you handle your ingredients.
-
Butter Temperatures Matter: Make sure your butter is softened but not melted. Room temperature butter helps achieve the right creaminess when mixed with sugar, leading to cookies with a delightful texture.
-
Don’t Skip the Chilling: After forming the dough, chilling it for at least 30 minutes allows the flavors to meld and keeps the cookies from spreading too much while baking. This step might seem tedious, but patience pays off with perfectly shaped cookies.
-
Making the Thumbprint: Use your thumb (or the back of a measuring spoon) to create a small indent in the center of each cookie. Don’t press too hard—it should hold a dollop of jam but retain enough cookie structure.
-
Filling with Jam: Choose your favorite jam, but avoid the chunky ones—smooth varieties not only fill the thumbprint beautifully but also provide an even sweetness.
With these tips in mind, you’re on your way to baking jam thumbprint cookies that are both delicious and visually appealing! Happy baking!
Serving Suggestions
When it comes to enjoying your jam thumbprint cookies, the experience is truly all about complementing those delightful fruit flavors. Picture this: a cozy afternoon, a warm cup of tea, and a plate of freshly baked cookies right in front of you. It’s heavenly!
Pairing Ideas for the Best Experience
-
Beverages:
-
Tea: A light chamomile or Earl Grey tea can highlight the sweetness of the jam and cleanse your palate.
-
Coffee: Try a medium roast with nutty undertones, which beautifully contrasts the cookies’ sweetness.
-
Serving Suggestions:
-
Cheese Platter: Add your cookies to a cheese platter with mild cheeses. The contrast between the sweet jam and creamy cheese is delightful.
-
Ice Cream Sandwich: For a fun twist, sandwich a scoop of vanilla ice cream between two cookies for a nostalgic treat.
With these pairing ideas, your jam thumbprint cookies will surely take center stage at your next gathering or cozy night in! Enjoy every bite.
Time Breakdown for Jam Thumbprint Cookies
Creating jam thumbprint cookies is a delightful journey that can easily fit into your busy schedule. You’ll be amazed at how some time spent in the kitchen can lead to such delicious results.
Preparation time
Getting started with your jam thumbprint cookies will only take about 20 minutes. This includes gathering your ingredients and mixing them into the smooth, buttery dough.
Baking time
After forming your cookies, they’ll need about 12-15 minutes in the oven. Keep an eye on them to ensure they come out golden brown but still soft.
Total time
From prep to cookie bliss, you’re looking at a total of around 35-40 minutes. This is a quick yet rewarding recipe that showcases both flavor and charm, making it a perfect treat for any occasion.
Nutritional Facts for Jam Thumbprint Cookies
Exploring jam thumbprint cookies not only leads to delightful flavors but also a glimpse into their nutritional profile. From a cozy gathering with friends to a sweet treat after dinner, knowing what’s in these cookies can enhance your experience.
Calories
Each bite of these jam thumbprint cookies packs approximately 80 calories. While they are delicious, being mindful of portion sizes helps in balancing indulgence and health.
Carbohydrates
With about 11 grams of carbohydrates per cookie, these treats provide a quick energy boost. It’s the perfect sweet snack to enjoy during a midday break or alongside your favorite cup of tea.
Fats
Clocking in at around 4.5 grams of fat, these cookies offer a satisfying richness. The fat content is primarily from butter, making each cookie melt in your mouth with warmth and flavor.
As you savor these delightful cookies, remembering their nutritional content can help you enjoy them even more. Whether you share them at a gathering or enjoy them solo, jam thumbprint cookies are a treat worth celebrating.
FAQ about Jam Thumbprint Cookies
When it comes to jam thumbprint cookies, these delightful treats often spark a lot of questions from bakers eager to perfect their technique. Whether you’re a seasoned pro or a first-time baker, understanding the ins and outs can transform your cookie experience.
Can I use different types of jam?
Absolutely! The beauty of jam thumbprint cookies lies in their versatility. You can use any jam or preserve you prefer, from classic strawberry and raspberry to more exotic flavors like fig or apricot. Just keep in mind that some jams can be sweeter or thicker than others. If you’re using a particularly runny jam, consider reducing it slightly on the stove to thicken it up before filling your cookies.
Why did my cookies spread during baking?
If your jam thumbprint cookies spread too much in the oven, it could be due to a few factors. Make sure your butter is at the right temperature—softened but not melted. Using melted butter can lead to overly spread-out cookies. Also, check that you’re not overmixing the dough, as this can incorporate too much air and alter the texture. Finally, chilling the dough for at least 30 minutes before baking can help maintain their shape.
How do I store these cookies for maximum freshness?
To keep your jam thumbprint cookies fresh, store them in an airtight container at room temperature. They should stay delightful for about a week. If you want to extend their life, consider freezing them. Simply place them in a single layer in a freezer-safe bag or container, and they can last for up to three months. When you’re ready to enjoy, just thaw them at room temperature; they’ll taste as good as new!
Conclusion on Jam Thumbprint Cookies
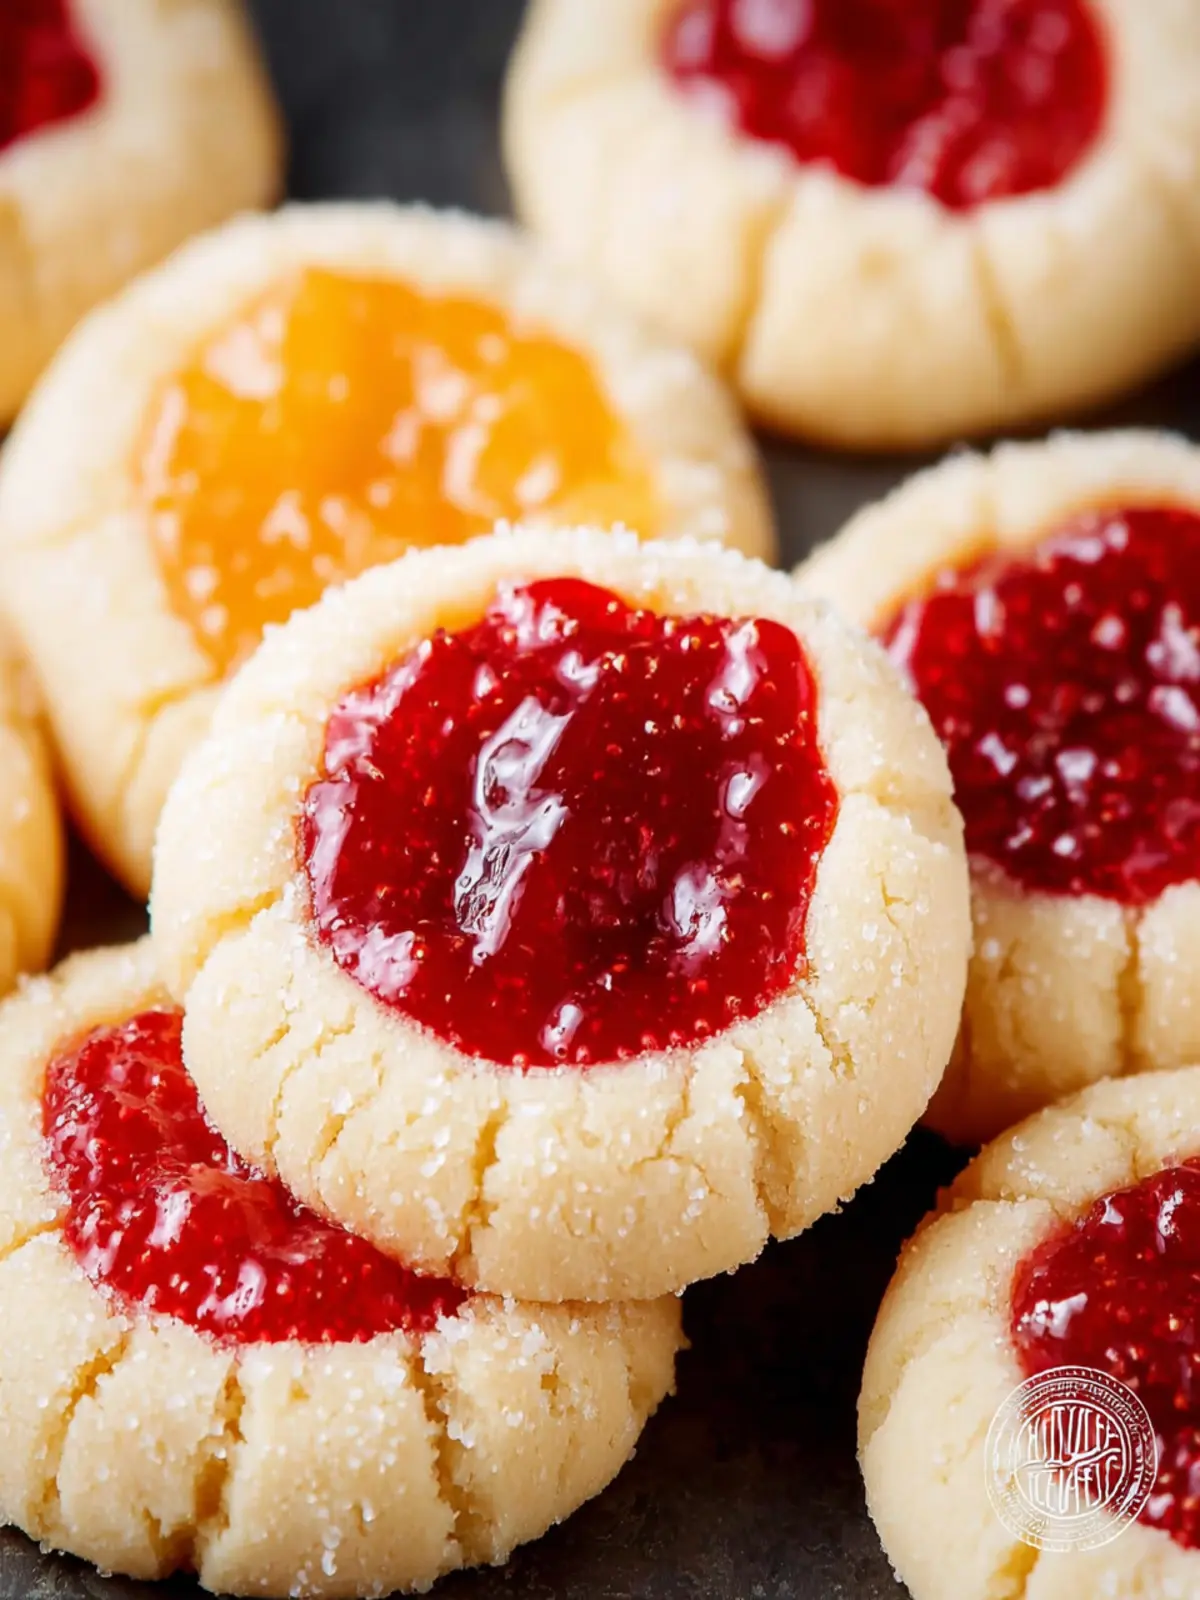
In the end, jam thumbprint cookies are not just a treat; they’re a delightful experience that brings back fond memories of childhood baking and family gatherings. These cookies, with their tender texture and vibrant jewel-like centers, are perfect for snacking or gifting. Imagine sharing a batch with friends over coffee or presenting them to your loved ones at a gathering.
So why not roll up your sleeves and bake your own batch? Share your creations online, and let’s inspire others to enjoy the warm, comforting joys of cookie-making! Your kitchen adventure awaits, and who knows? You might just create a new family tradition!
Print
Jam-Filled Cookies
- Total Time: 27 minutes
- Yield: 24 cookies 1x
Description
Delicious jam-filled cookies made with a soft and buttery dough, perfect for any occasion.
Ingredients
Scale
- 1 cup unsalted butter (softened)
- ¾ cup powdered sugar
- ½ cup granulated sugar
- 1 large egg
- 2 teaspoons vanilla extract
- 2 ¾ cups all-purpose flour
- ½ teaspoon salt
- ¼ cup apricot jam or preserves
- ¼ cup raspberry jam or preserves
Instructions
- Preheat the oven to 350°F (180°C), or 160°C fan oven. Prepare a cookie sheet with parchment paper or a silicone baking mat and set aside.
- In a large mixing bowl with a hand mixer, cream together the butter, powdered sugar, and granulated sugar until smooth and creamy (2-3 minutes).
- Add the egg and vanilla, mix again until light and fluffy.
- Add in the flour and salt and mix again until just combined.
- Take a 1 Tablespoon sized scoop and roll the dough in the palm of your hands until it forms a smooth ball without any cracks. Set the ball onto the prepared baking sheet.
- Then, use a round teaspoon measuring spoon and press the back of it into the center of the dough ball creating a little well. (To prevent the spoon from sticking you can wet the back of the spoon with water before pressing into the dough.)
- Continue this process of rolling 1 Tablespoon sized dough balls then immediately pressing a teaspoon size well into each until the dough is gone. As you are placing the dough balls onto the prepared baking sheet, place them about 2 inches apart.
- Give both the apricot and raspberry a good stir (do not mix together, keep separate) to loosen them up. Fill each of the wells in the cookies with a mounding teaspoon of either the apricot or raspberry jams.
- Bake in the preheated oven for 10-12 minutes or until the cookie is set; the cookies should remain very light in color, not golden.
- Remove finished cookies from the oven, let cool for 5-10 minutes before transferring to a cooling rack.
- Once completely cool, store in an airtight container at room temperature for up to 6 days.
Notes
- To prevent sticking while pressing the spoon into the dough, wet the back of the spoon with water.
- Ensure cookies are set but not golden for the best texture.
- Prep Time: 15 minutes
- Cook Time: 12 minutes
- Category: Dessert
- Method: Baking
- Cuisine: American
Nutrition
- Serving Size: 1 cookie
- Calories: 120
- Sugar: 8g
- Sodium: 85mg
- Fat: 6g
- Saturated Fat: 4g
- Unsaturated Fat: 1g
- Trans Fat: 0g
- Carbohydrates: 15g
- Fiber: 0g
- Protein: 1g
- Cholesterol: 20mg