Follow Me On Social Media!
Stained Glass Cookies: Easy, Colorful Treats to Wow Everyone
Introduction to Stained Glass Cookies
Creating stained glass cookies offers not only a delicious treat but also an artistic endeavor that brings joy to the kitchen. Imagine the delight on friends’ and family’s faces as they admire these vibrant, translucent cookies that capture the spirit of any festive occasion. The contrast between the colorful candy at the center and the buttery, crisp cookie surrounding it makes for a visual and flavorful feast.
The history of stained glass cookies traces back to several cultures that revered colorful sweets during celebrations. Over the years, they’ve made their way into Christmas traditions and birthday parties alike, transforming ordinary baking into an enjoyable art form. The blend of rolling, cutting, and creating shapes allows you to infuse your personality into these treats, making them distinctly yours.
What makes Stained Glass Cookies a delightful treat?
There’s something magical about breaking through a crunchy outer shell to uncover the sweet, jewel-like center. Here’s what makes these cookies stand out:
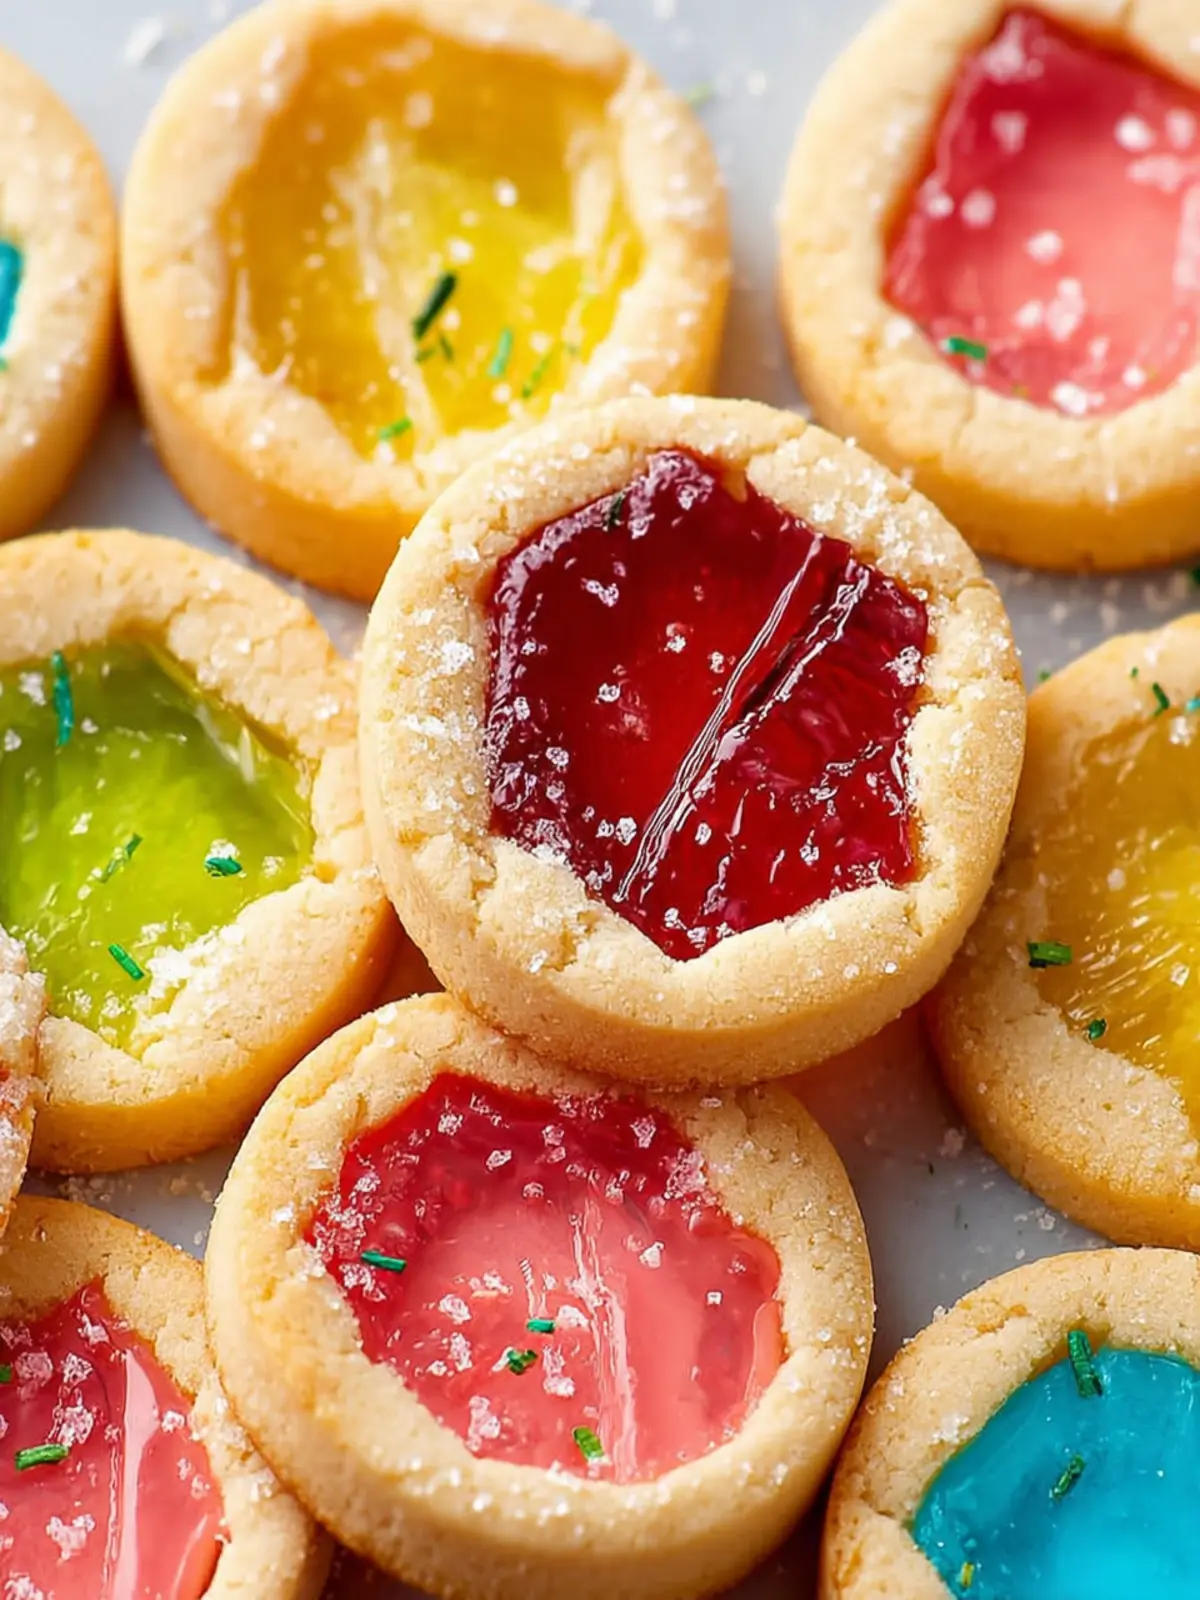
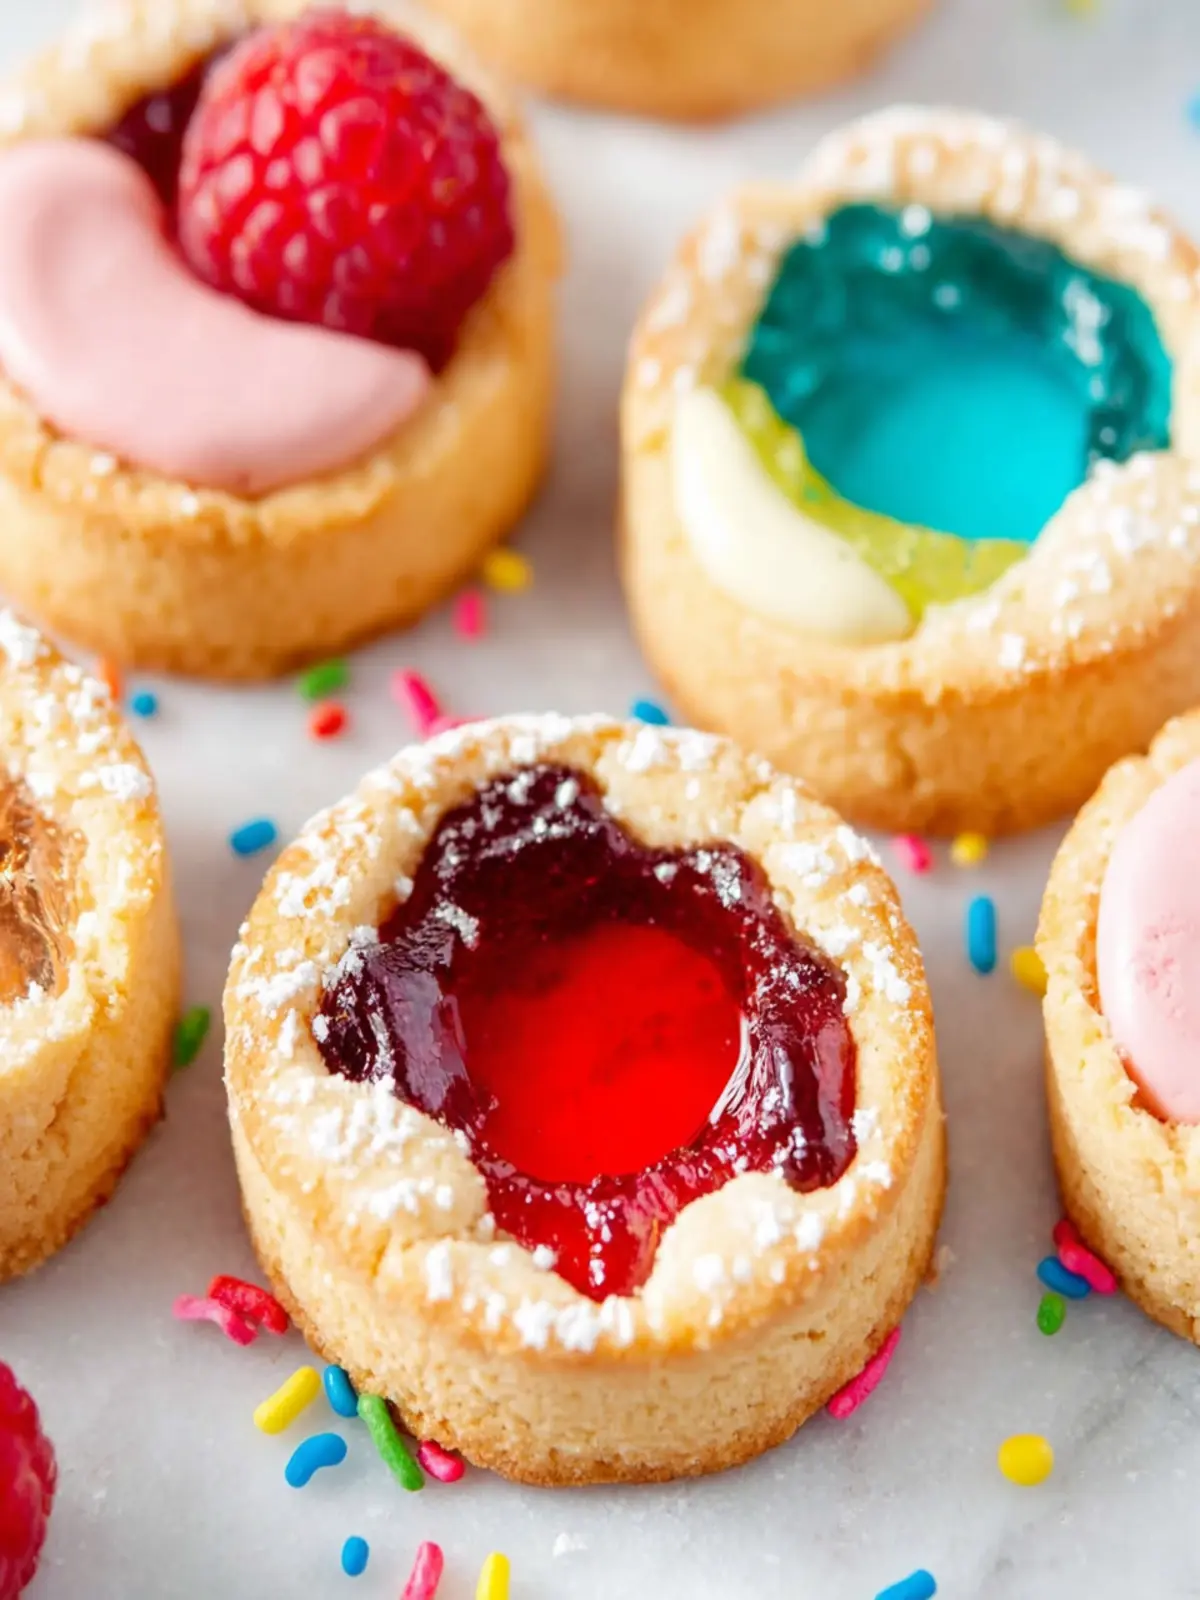
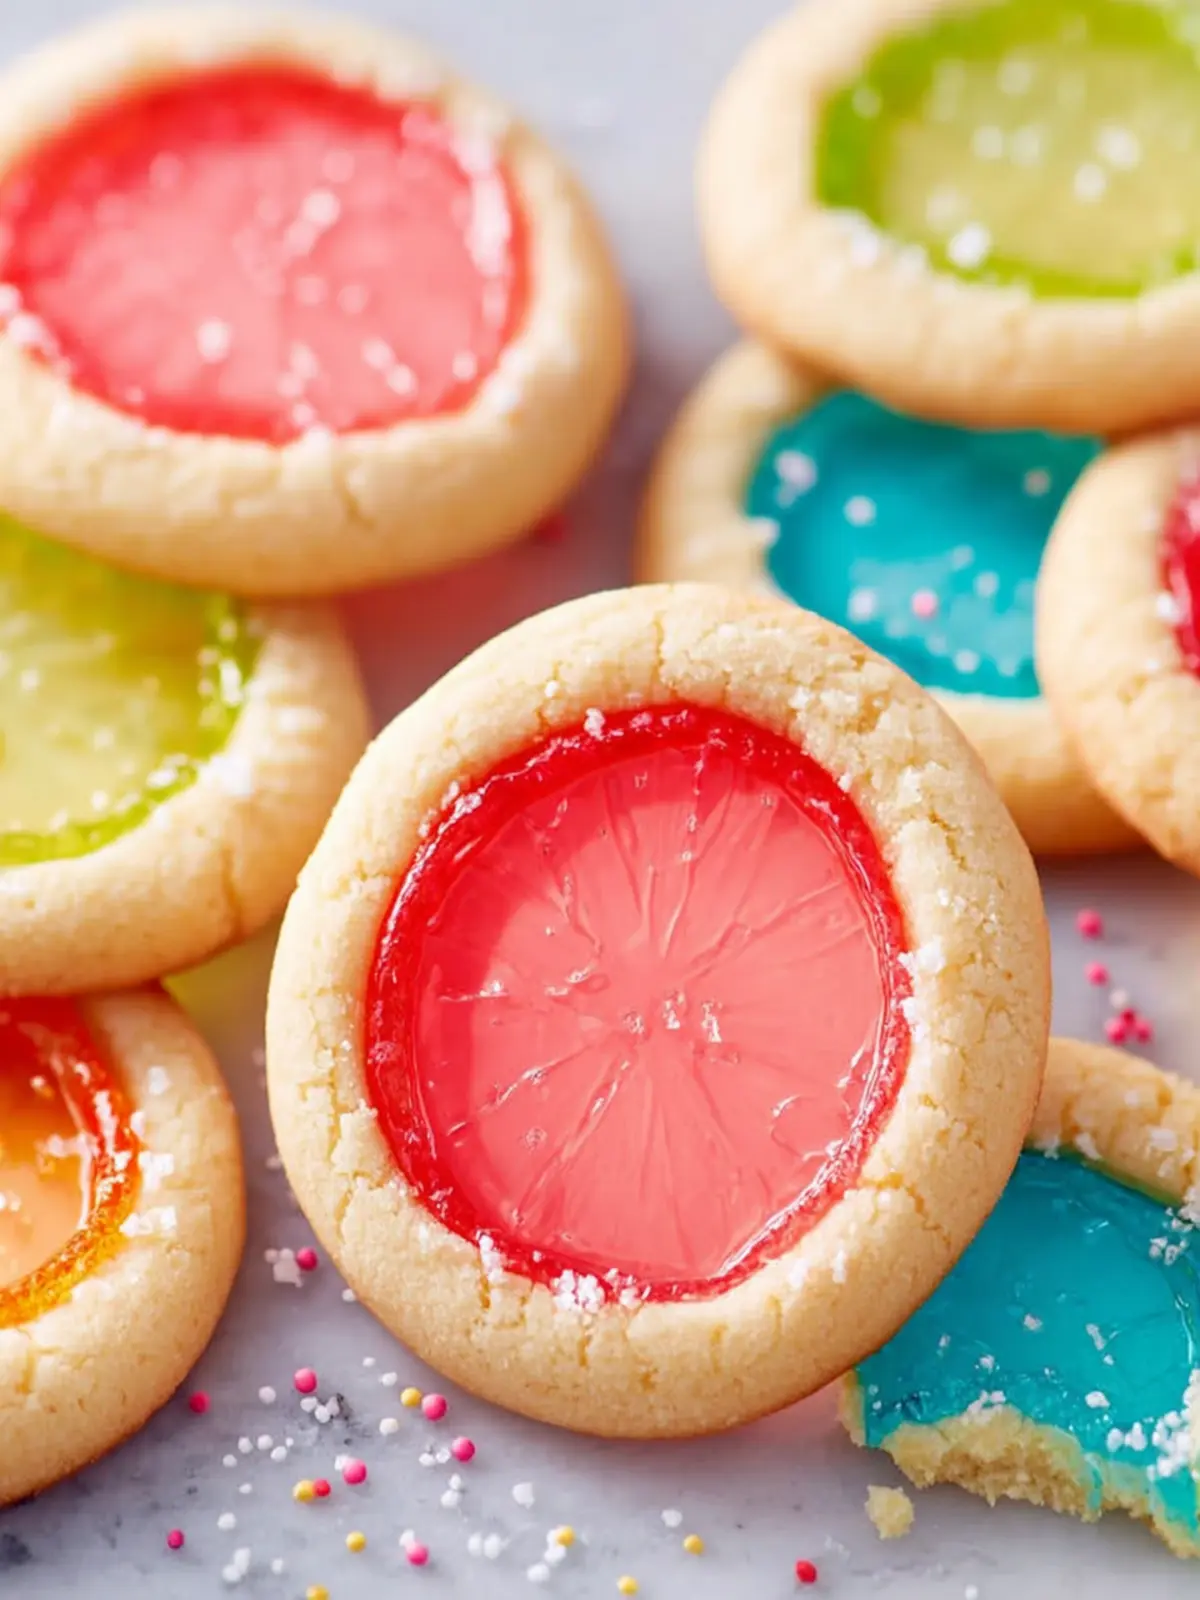
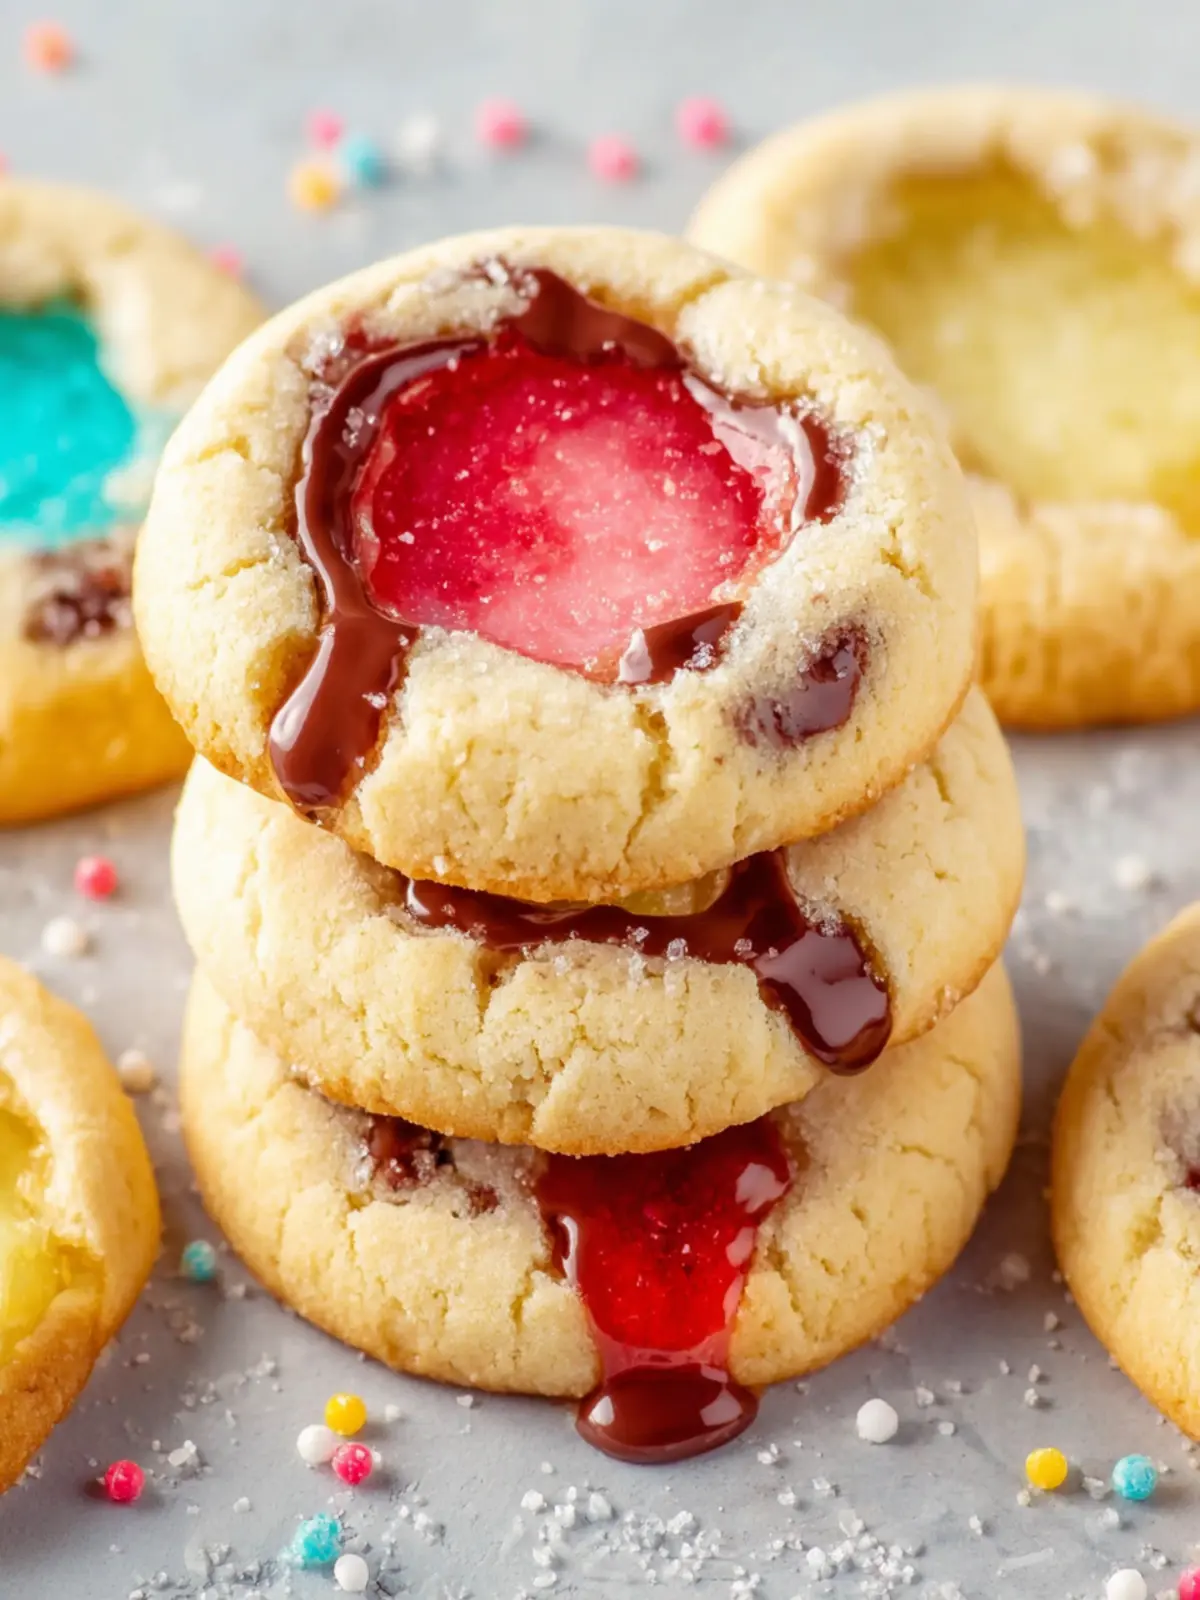
- Visual Appeal: The vibrant hues of crushed hard candy not only add a burst of color but also mimic the look of stained glass, making them a perfect addition to holiday cookie platters or as standout gifts.
- Customizability: You can easily adjust the colors and shapes based on the occasion—think red, white, and blue for July 4th or pastel shades for an Easter celebration.
- Textural Experience: The combination of a buttery cookie and a chewy, sweet center creates a delightful contrast that delights the palate.
- Baking Fun: Whether you’re baking solo or with friends, the process is engaging. From rolling the dough to cutting out the shapes, it’s an opportunity for creativity and memories.
This recipe for stained glass cookies is not only straightforward but also invites you to dive into a world of sugary creativity and festive spirit. Ready to let your inner baker shine? Let’s dive into the fun of making these decorative delights!
Key Ingredients for Stained Glass Cookies
Creating stained glass cookies is a delightful way to blend baking with artistic creativity. Each bite reveals a hidden gem, making these treats not only delicious but also visually stunning. Here’s what you’ll need to bring these cookies to life:
Butter
Butter is the backbone of any good cookie, and for stained glass cookies, I recommend using unsalted butter. This allows you to control the saltiness of your dough. It makes your cookies rich and helps achieve that perfect chewy texture.
Sugar
You’ll want both granulated sugar and powdered sugar. Granulated sugar provides sweetness and a delightful crunch, while powdered sugar is crucial for making the dough pliable and fining.
Eggs
Using fresh eggs, specifically room temperature, gives your cookies structure and richness. The yolk adds moisture, while the white helps the cookies hold their shape without spreading too much.
Flour
I like to use all-purpose flour, which gives the right balance of texture. If you’re looking for a gluten-free option, consider a blend that can stand up to the ingredients.
Jolly Ranchers
This is the star of your stained glass cookies! Crushed Jolly Ranchers will melt in the center, creating that beautiful stained glass effect. Choose a variety of colors for a vibrant display.
Vanilla Extract
A splash of pure vanilla extract enhances the overall flavor, adding a warm, inviting aroma that fills your kitchen as the cookies bake.
With these key ingredients, your stained glass cookies will not only look like pieces of art but also taste absolutely scrumptious!
Why You’ll Love These Stained Glass Cookies
Picture this: a sunny afternoon spent baking with loved ones, the aromas of sweet dough mingling with the sound of laughter. That’s the magic of stained glass cookies. These delightful treats aren’t just visually stunning; they come packed with nostalgic flavors and a sense of creativity that makes baking them a joy.
Irresistibly Beautiful
What sets stained glass cookies apart is their vibrant, jewel-like centers made from crushed hard candies. When baked, they transform into colorful windows that not only catch the light but also catch the eye. Imagine presenting these cookies at a gathering—watch as your friends and family marvel at their beauty.
Simple Yet Fun to Make
Baking these cookies is more than just a culinary experience; it’s an opportunity to bond and get a little creative. The simple dough can be cut into various shapes, allowing you to customize your cookies for any occasion, from festive holidays to casual get-togethers.
A Taste of Nostalgia
Each bite offers a delightful crunch followed by a chewy sweetness that brings back memories of childhood baking adventures. They’re perfect with a cup of tea or coffee and make for a charming surprise in lunchboxes or as gifts.
You’ll find that making stained glass cookies is not just a baking task; it’s an invitation to create, share, and relive joyful moments. Whether as a centerpiece at a gathering or a sweet little treat for yourself, these cookies are sure to become a favorite!
Tips for Making Perfect Stained Glass Cookies
Crafting stained glass cookies is a delightful way to bring a touch of color and whimsy to your baking. To ensure that your cookies are not just vibrant but also delicious, consider these helpful tips.
Choosing the Right Dough
-
Chill Your Dough: Chilling the cookie dough for at least an hour allows for easier handling and better shaping. Don’t skip this step; it ensures your cookies keep their shape while baking.
-
Use High-Quality Ingredients: Opt for real butter and pure vanilla extract for the best flavor. These make all the difference in taste and texture.
Perfecting the Window Effect
-
Crushed Candies: For the stained glass effect, choose colorful hard candies like Jolly Ranchers. Their vibrant colors and clear melting properties create that beautiful glass-like appearance you desire.
-
Careful Baking: Bake your cookies until the edges are lightly golden, but the centers are still soft. They will continue to firm up as they cool.
Decoration Tips
-
Don’t Overdo It: Allow the cookies to cool completely before removing them from the baking sheet, as the melted candy center can be fragile.
-
Add Details: Once cooled, consider adding icing or edible glitter for an extra touch of festivity and fun.
These tips will help you create eye-catching stained glass cookies that not only look stunning but taste incredible too. Happy baking!
Time Details for Stained Glass Cookies
Making stained glass cookies is not just about the stunning results; it’s a delightful experience that fills your kitchen with the sweet aroma of baking. Here’s how the timing breaks down for these eye-catching treats.
Preparation Time
The prep work for these charming cookies takes about 30 minutes. You’ll need to mix the dough, roll it out, and cut out your favorite shapes.
Baking Time
Once they’re in the oven, expect them to bake for around 10-12 minutes. Keep an eye on them to get that perfect golden color without losing their vibrant stained glass effect.
Total Time
From start to finish, you’re looking at about 45-50 minutes to create these beautiful stained glass cookies. It’s a fun and quick activity that’s perfect for any cookie enthusiast!
Nutritional Information for Stained Glass Cookies
When you indulge in stained glass cookies, you’re not just enjoying a delicious treat; you’re also considering their nutritional impact. These beautiful cookies can add a delightful touch to any occasion, and knowing their nutritional profile can help you enjoy them mindfully.
Calories
Each stained glass cookie contains approximately 90 calories. While they are a delightful sweet treat, moderation is key to balancing your daily intake.
Protein
You can expect about 1 gram of protein per cookie. While they won’t provide your full protein needs, they can certainly satisfy a sweet craving.
Sodium
Each cookie includes around 30 mg of sodium. This is relatively low, making them a sweet option for gatherings without the worry of too much salt in your diet.
Enjoy your stained glass cookies knowing you can appreciate their taste and beautiful appearance without compromising your nutritional goals!
FAQs about Stained Glass Cookies
Stained glass cookies add a whimsical twist to traditional baking, sparking joy as they gleam like colorful treasures on your plate. Whether you’re rolling dough for a festive gathering or simply indulging in a cozy afternoon treat, these cookies are bound to impress. Here are some frequently asked questions to help you navigate the process.
How can I achieve the best stained glass effect?
To craft the perfect stained glass effect, start by choosing vibrant hard candies that will melt down beautifully. Crush the candies into smaller pieces—using a plastic bag and a rolling pin works wonders—before placing them in the cut-out areas of your cookie dough. Make sure to watch them closely as they bake; pull them from the oven as soon as the candies have melted for a smooth, glass-like finish.
Can I use different types of hard candies?
Absolutely! Your creativity can shine with a variety of hard candies when making stained glass cookies. Popular choices include Jolly Ranchers, Life Savers, or even certain types of mints. Just remember to stick to bright colors and avoid dark candies, as they may not create as visually appealing a result. Mixing up the colors can lead to unique designs that’ll wow any cookie lover!
What’s the best way to store these cookies?
To keep your stained glass cookies fresh, store them in an airtight container at room temperature. Layer parchment paper between the cookies to prevent them from sticking together. They should stay good for about a week—but let’s be honest, they might not last that long! For longer storage, consider freezing them, ensuring they’re well-wrapped to avoid freezer burn. Enjoy your colorful treats!
Conclusion on Stained Glass Cookies
In the world of stained glass cookies, you’ve discovered a delightful fusion of art and indulgence. These cookies are not just a treat; they’re a creative outlet that brings joy to every occasion. Whether you’re baking for a holiday gathering or to surprise a loved one, the vibrant colors and sweet flavors remind us that cooking can be both playful and delicious.
Remember, the beauty of stained glass cookies lies in their unique shapes and the thin layer of candy that sparkles like real stained glass. As you perfect this recipe, don’t hesitate to experiment with different shapes, flavors, and festive themes. Happy baking!
Print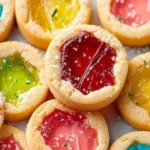
Translucent Hard Candy Cookies
- Total Time: 25 minutes
- Yield: 24 cookies 1x
- Diet: Vegetarian
Description
Delicious cookies with a center filled with translucent hard candy, perfect for any occasion.
Ingredients
Scale
- 1 cup unsalted butter (softened)
- 1 cup granulated sugar
- 1 teaspoon pure vanilla extract
- 1 large egg (at room temperature)
- 3 ½ cups all-purpose flour
- 1 ½ teaspoons baking powder
- ½ teaspoon salt
- 36 translucent hard candies (unwrapped (I used Jolly Ranchers))
Instructions
- Preheat the oven to 350°F (180°C), or 160°C fan oven. Prepare a cookie sheet by lining it with parchment paper or silicone mat and set aside.
- In the bowl of a stand mixer with a paddle attachment or a mixing bowl with a hand mixer, cream the butter with the sugar until smooth, light in color and creamy (2-3 minutes).
- Add vanilla and egg and mix again until the egg is incorporated but don’t over whip (the longer you whip the egg, it can souffle up and the cookies will rise and you don’t want that).
- Add in the flour, baking powder, and salt and mix again until just combined. Scrape the sides with a spatula so no dry flour is left.
- The cookie dough should pull away from the sides of the bowl (if it doesn’t, add up to ½ cup of additional flour).
- Divide the dough into 4 portions, and roll out each using a rolling pin into ¼ inch thickness.
- Cut out shapes using a larger cookie cutter for the outer shape and a smaller cookie cutter for the inner shape. Then with the help of an offset spatula, transfer to the cookie sheet.
- Place one unwrapped hard candy in the empty center of each cookie. If your inner shape is too small you may crush the candies to create smaller pieces. Avoid having the candy touch the edges of the cookie.
- Bake for 8 minutes (one sheet at a time), then check the cookies – if the candies are bubbling or close to bubbling, remove the cookies from the oven for 2 minutes, then return to the oven for an additional 2 minutes or until the cookies are set. To obtain a clean final look you want to avoid having the candies bubble up too high.
- When cookies are set, remove from the oven and allow to cool on the cookie sheet completely.
- Store in an air tight container for up to 1 week.
Notes
- Make sure the butter is softened but not melted for the best texture.
- Consider using different flavors of hard candies for variety.
- Ensure to line the cookie sheet properly to prevent sticking.
- Prep Time: 15 minutes
- Cook Time: 10 minutes
- Category: Dessert
- Method: Baking
- Cuisine: American
Nutrition
- Serving Size: 1 cookie
- Calories: 120
- Sugar: 10g
- Sodium: 50mg
- Fat: 7g
- Saturated Fat: 4g
- Unsaturated Fat: 2g
- Trans Fat: 0g
- Carbohydrates: 14g
- Fiber: 0g
- Protein: 1g
- Cholesterol: 30mg